
 245
245
This guide walks through setting up NZBGet on macOS with your SunnyUsenet account. NZBGet is a lightweight newsreader that runs through a Web interface and provides detailed control over Usenet access.
Install NZBGet on macOS
- Visit the official NZBGet website.
- Select the macOS version and install the application.
- Move NZBGet into your Applications folder.
- Launch NZBGet.
When NZBGet starts, it opens its Web interface in your default browser.
Open the NZBGet Web Interface
After launching NZBGet, the interface typically opens automatically at:
http://localhost:6789
If it does not open, enter that address manually in your browser.
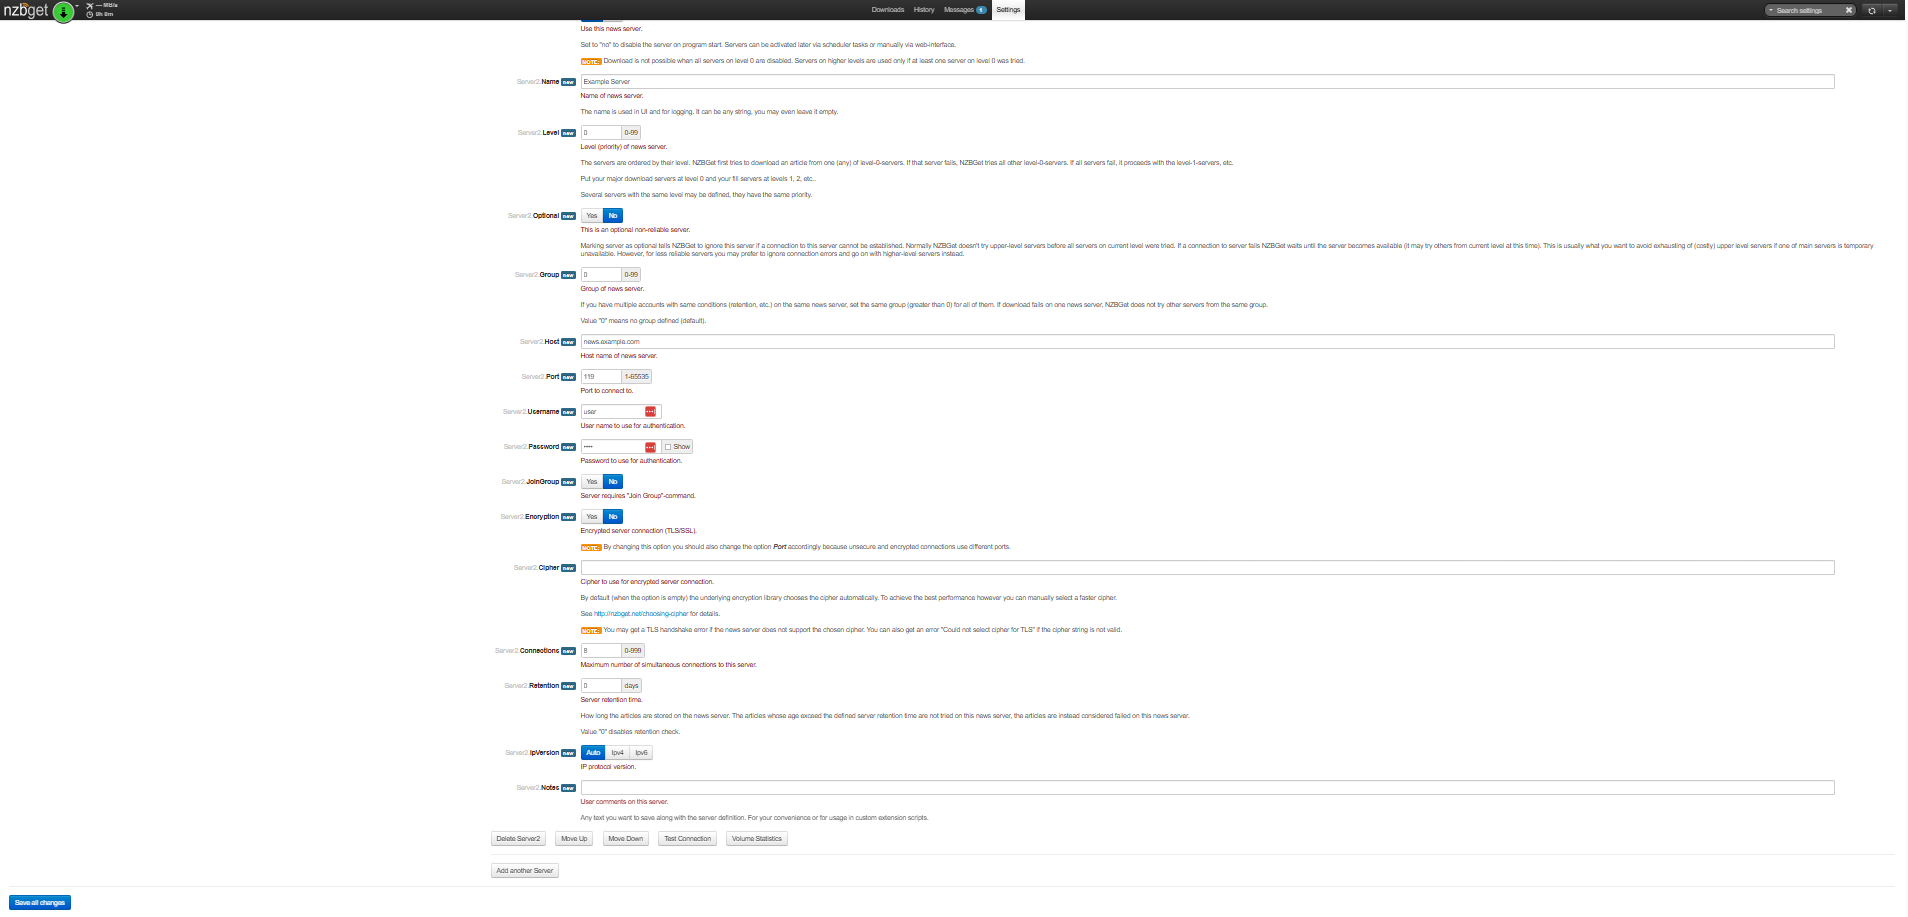
Enter SunnyUsenet Server Settings
- Click Settings in the top menu.
- Select NEWS-SERVERS.
- Locate the default server entry (usually named Server1).
Update the fields with your SunnyUsenet details:
- Active: Yes
- Name: SunnyUsenet
- Host: The server address provided in your confirmation email
- Port: 563 (SSL) or 119 (non-SSL)
- Username: Your SunnyUsenet username
- Password: Your SunnyUsenet password
- Encryption: Yes for SSL, No for non-SSL
- Connections: Start with 20 or use your account limit
Leave other fields at their default values unless you have a specific reason to change them.
Test the Server Connection
Before saving your settings:
- Click Test Connection.
- Wait for the result message.
- If the connection is successful, NZBGet will display Connection Successful.
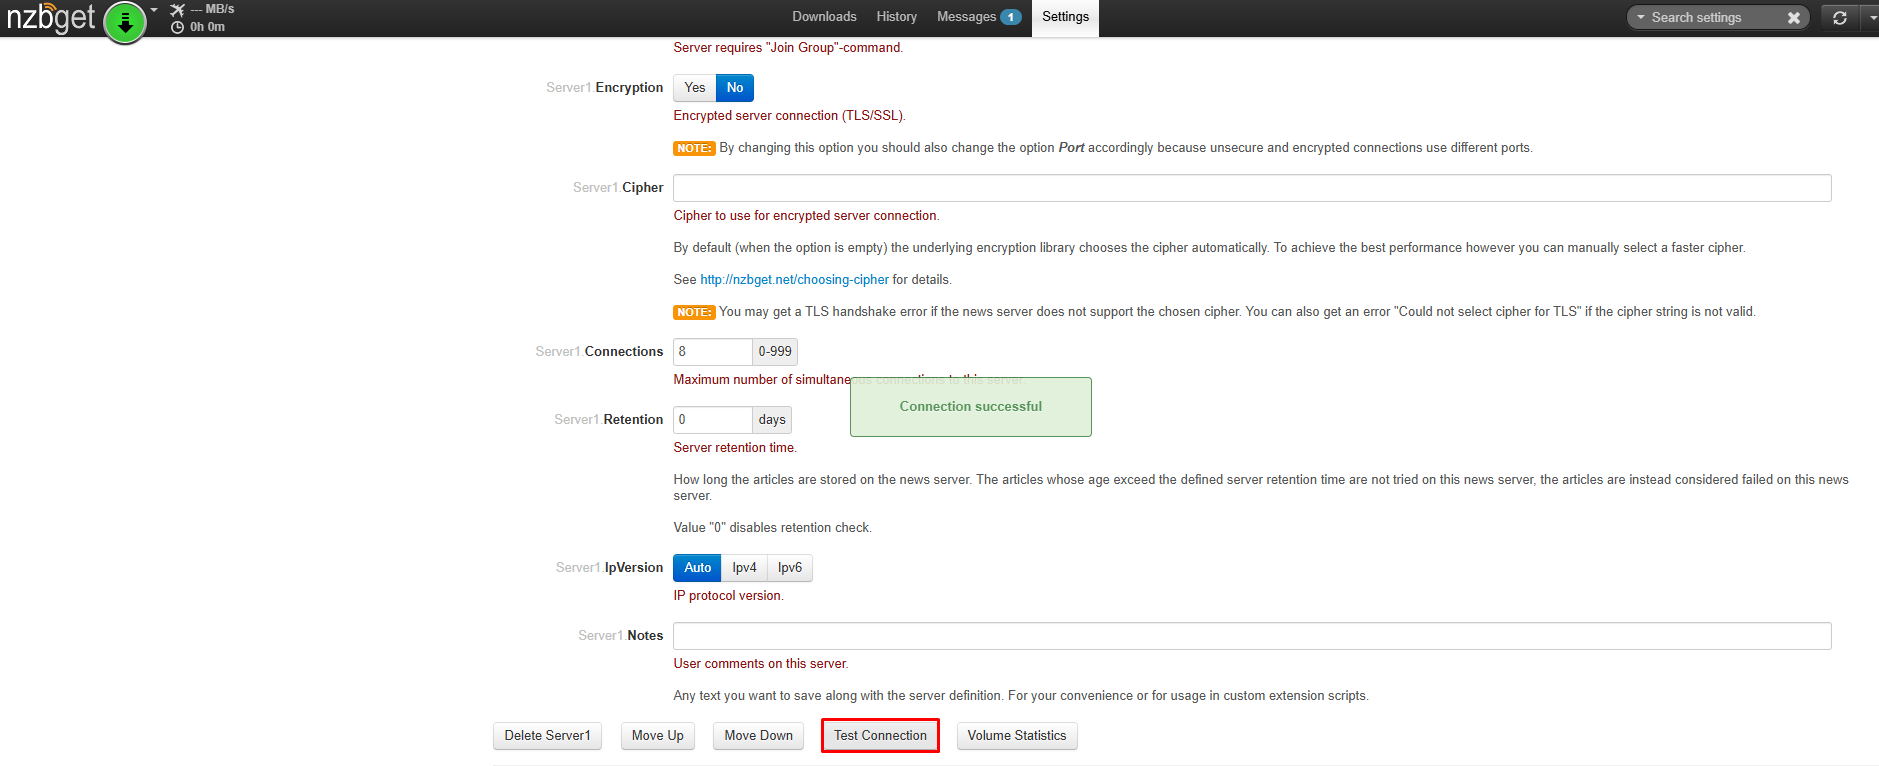
- If it fails, a message will appear indicating the test failed. Close the message and review your settings.
Common issues include incorrect username/password, wrong port, or SSL mismatch.
Save Your Configuration
Once the connection test succeeds:
- Click Save Changes.
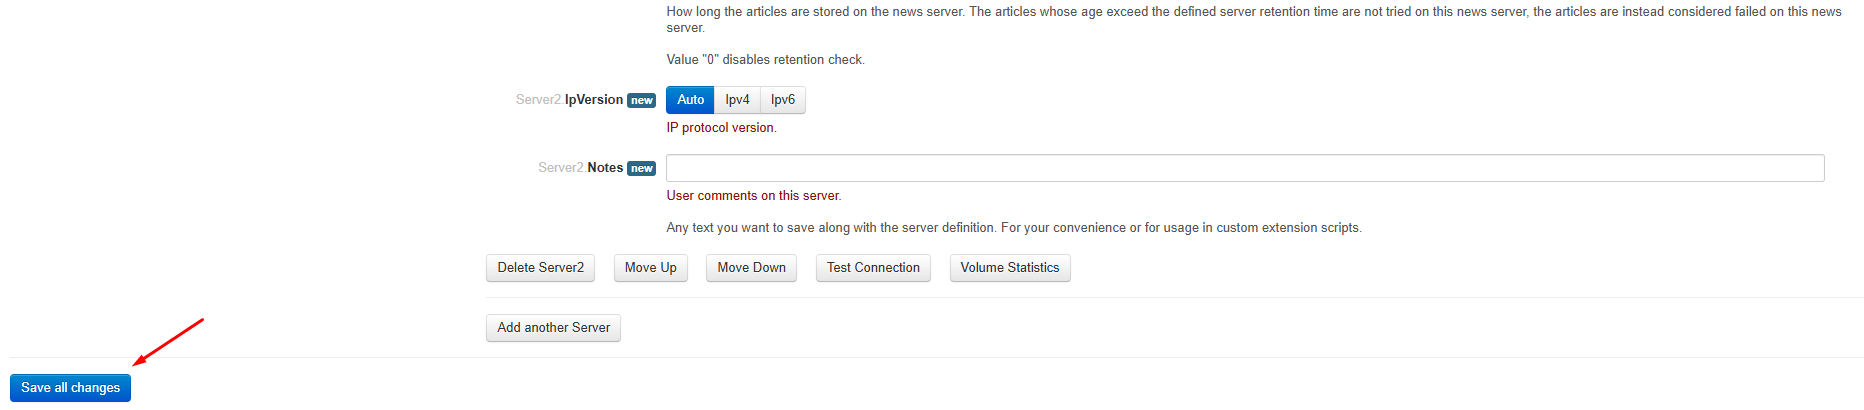
NZBGet will apply the new server configuration.
Confirm Server Status
After saving:
- Return to the main screen.
- Look at the status indicator in the top bar.
A connected server will show an active status. If the server is not connected, return to Settings → NEWS-SERVERS and review your configuration.
Optional: Adjust Performance Settings
NZBGet performs well with default values, but you can adjust performance if needed:
- Increase or decrease connections based on your system and network
- Use SSL (port 563) for encrypted access
If you experience slower speeds, review your connection count and network setup.
Troubleshooting Tips
If you cannot connect:
- Recheck your username and password
- Confirm the server address from your confirmation email
- Switch between ports 563 and 119
- Verify that SSL matches the selected port
If the issue continues, restart NZBGet and test again

