
 291
291
This guide explains how to install NZBGet on Linux, open the NZBGet Web interface, and connect it to your SunnyUsenet account.
NZBGet runs through a browser-based control panel after it starts. Once your SunnyUsenet server is added, NZBGet can access Usenet articles using the server settings tied to your account.
Install NZBGet
Start by getting the current stable Linux version from the official NZBGet website.
After the package is on your system:
- Extract the archive to the location where you want NZBGet installed.
- Open a terminal.
- Move into the extracted NZBGet folder.
- Start the NZBGet daemon with:
./nzbget -D
This starts NZBGet in the background.
Install NZBGet with wget
You can also install NZBGet from the terminal with wget.
Open a terminal and run (delete the double quotation marks around ""wget""):
""wget"" https://nzbget.net/download/nzbget-latest-bin-linux.run -O nzbget-installer.run
Make the installer executable:
sudo chmod +x nzbget-installer.run
Run the installer:
./nzbget-installer.run
Move into the NZBGet directory:
cd nzbget
Start NZBGet:
./nzbget -D
Open the NZBGet Web Interface
After NZBGet starts, open your browser and go to:
http://localhost:6789
Use the default NZBGet login details unless you have already changed them:
- Username: nzbget
- Password: tegbzn6789
After signing in, you can add your SunnyUsenet server settings.
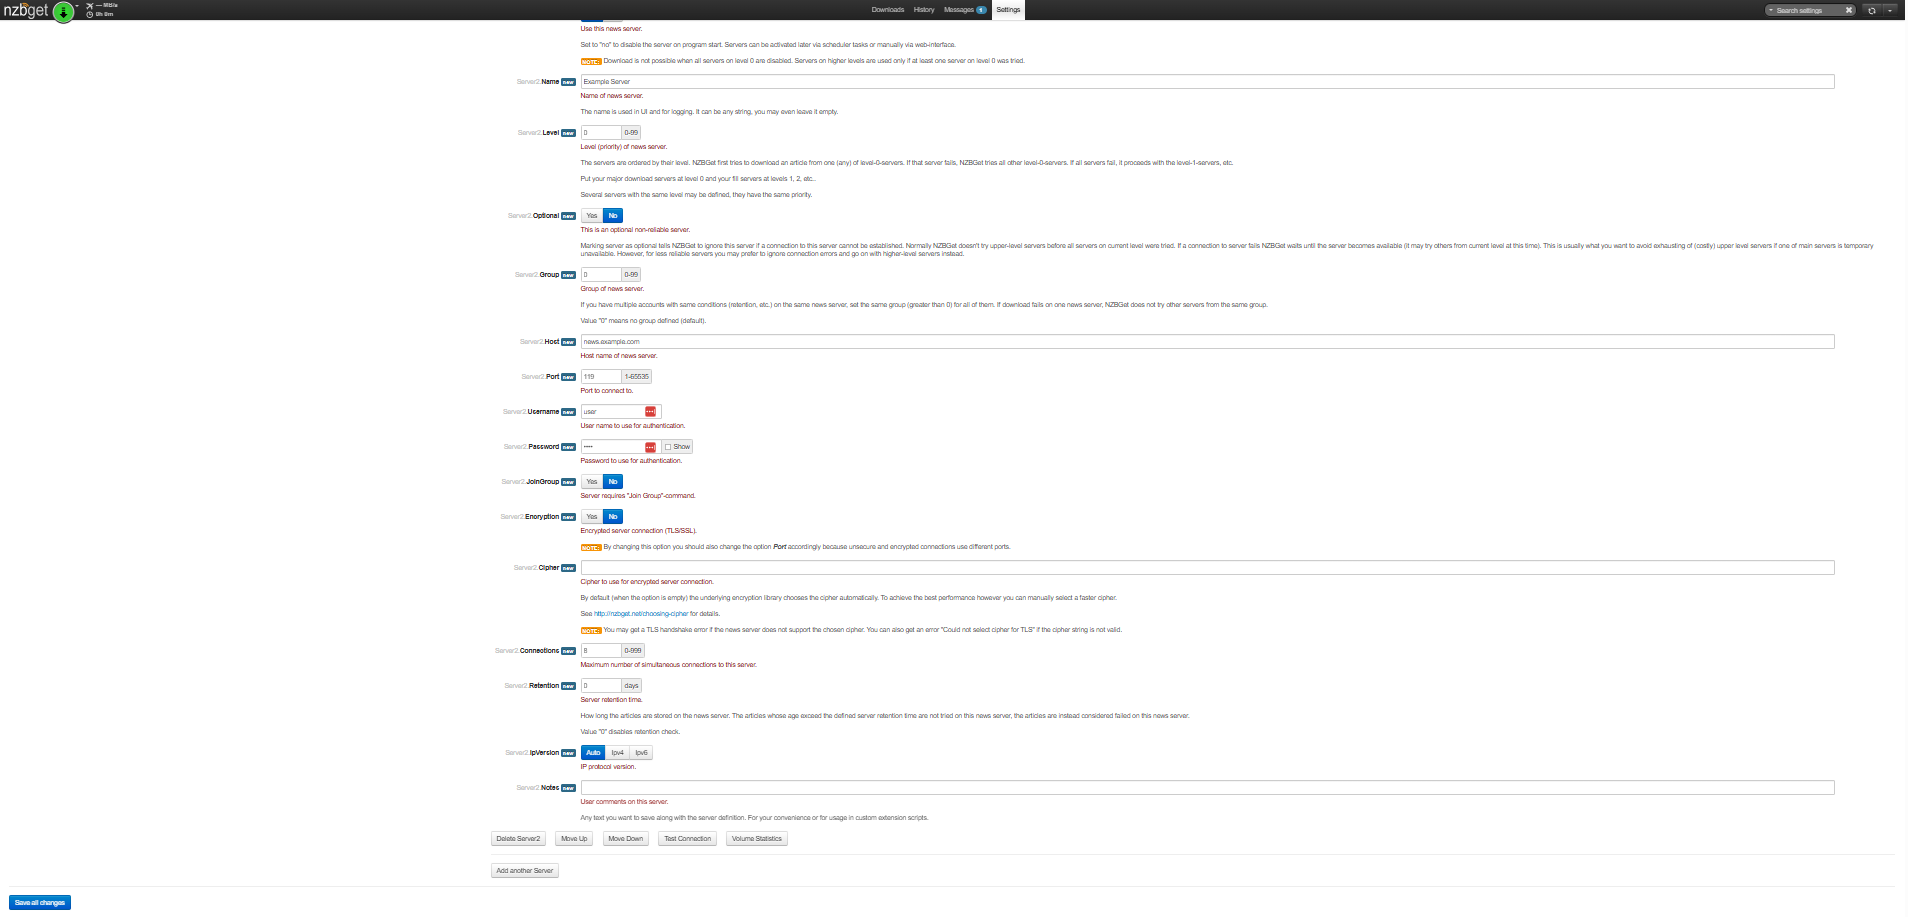
Add SunnyUsenet Server Settings
From the NZBGet Web interface:
- Click Settings.
- Select News-Servers.
- Add a new server entry.
Use the SunnyUsenet server details shown in your account information or confirmation email.
Recommended server values:
- Host: Enter your SunnyUsenet server address
- Port: 563 for SSL, or 119 for a standard connection
- Encryption: Yes when using SSL
- Username: Your SunnyUsenet username
- Password: Your SunnyUsenet password
- Connections: Use the number of connections included with your package
SunnyUsenet also supports ports 80, 119, 443, and 563. In most cases, ports 563 or 443 are preferred because they use SSL.
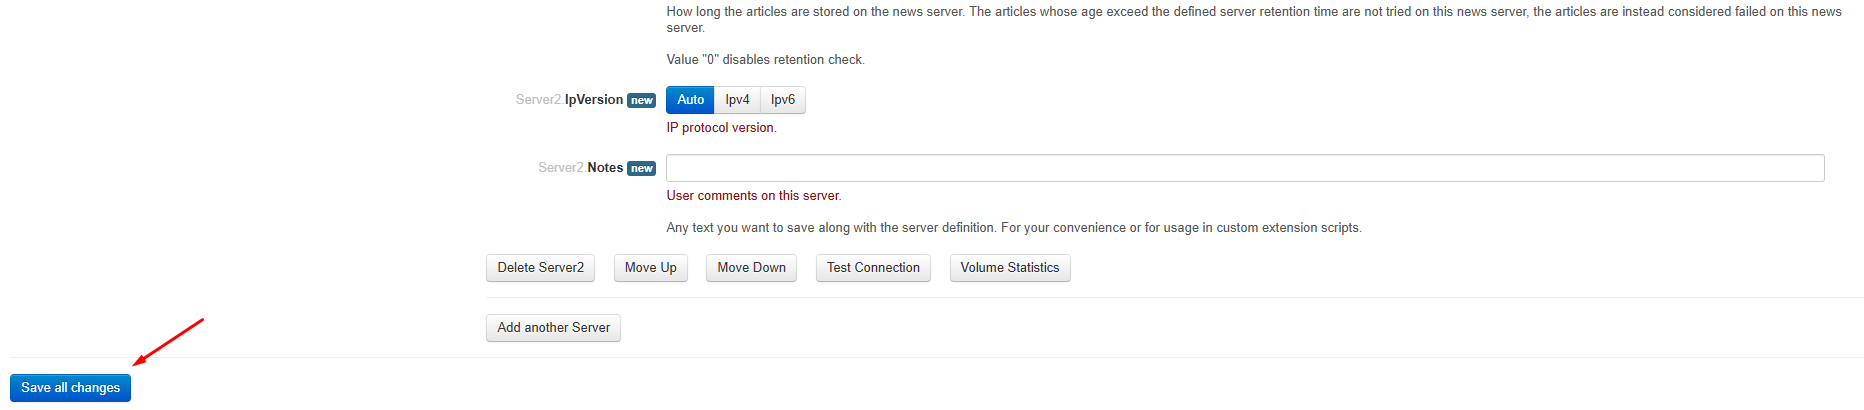
Save Changes and Restart NZBGet
After entering your server settings, click Save all changes.
Restart NZBGet so the new server settings are applied. You can restart it from the Web interface, or use the terminal.
To stop NZBGet:
./nzbget -Q
To start it again:
./nzbget -D
After NZBGet restarts, return to the Web interface and confirm that the server is active.
Check Your Connection Settings
If NZBGet does not connect, review the following values first:
- Server address
- Port number
- SSL setting
- Username
- Password
- Connection count
If you are using SSL and an older computer, encrypted connections may require more system resources. If performance is poor, test port 119 or 80 as a comparison, then switch back to SSL once you know where the problem is

